PLANNING A HIKING TRIP IN NORWAY
During an intense gym session, my friend Paulina and I made a promise to each other. We were going to Norway (neither of us had ever been). We were going to hike (and push ourselves). We were going to do it on a budget (Norway is expensive). We were going to do all of the planning ourselves (because . . . budget).
And just by verbalizing it and making a promise to each other, we made it happen. We began planning in earnest four months in advance, each researching different parts of the trip and putting it all together when we’d meet up for coffee or a long run.
STEP 1: TIMING AND FLIGHTS (TO BERGEN)
A few weeks into our planning, we bought tickets from Krakow, Poland to Bergen, Norway (a great jumping off point for trekking in western Norway) on Norwegian Air. The tickets were an absolute steal, and as a low-cost carrier, Norwegian often runs some great prices (even from the U.S), so keep an eye out!

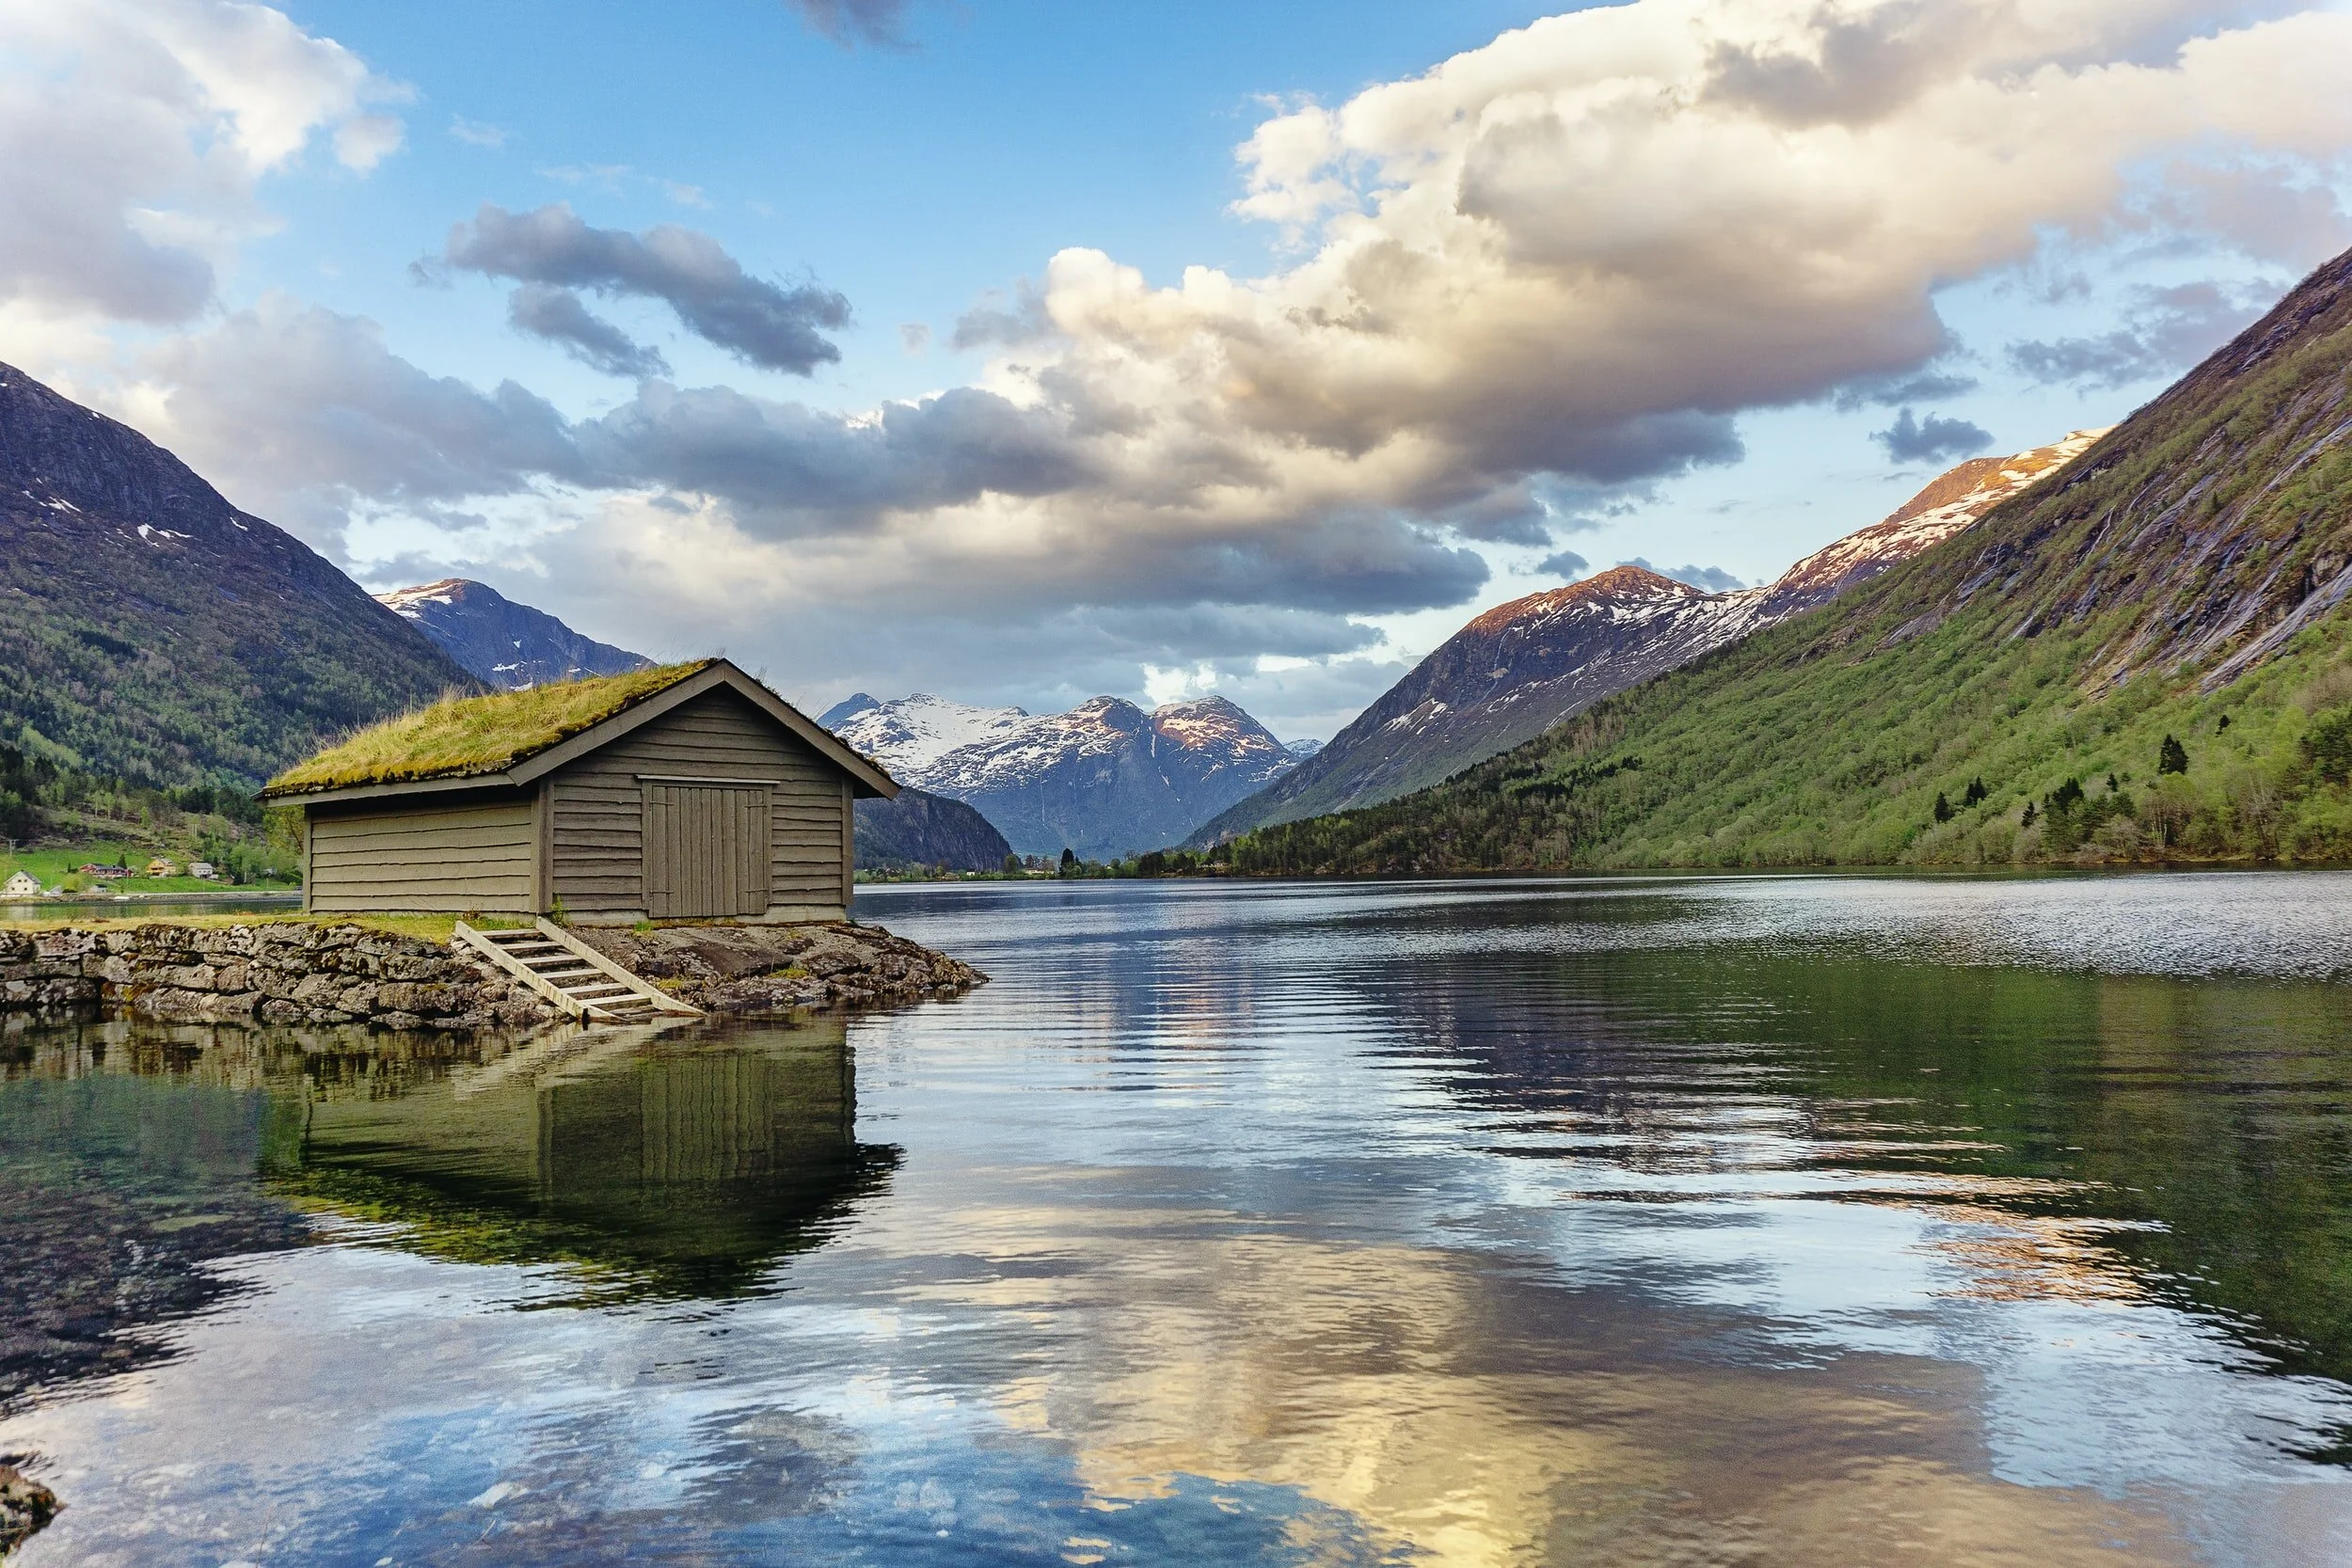
Flying over the beautiful Norwegian fjords
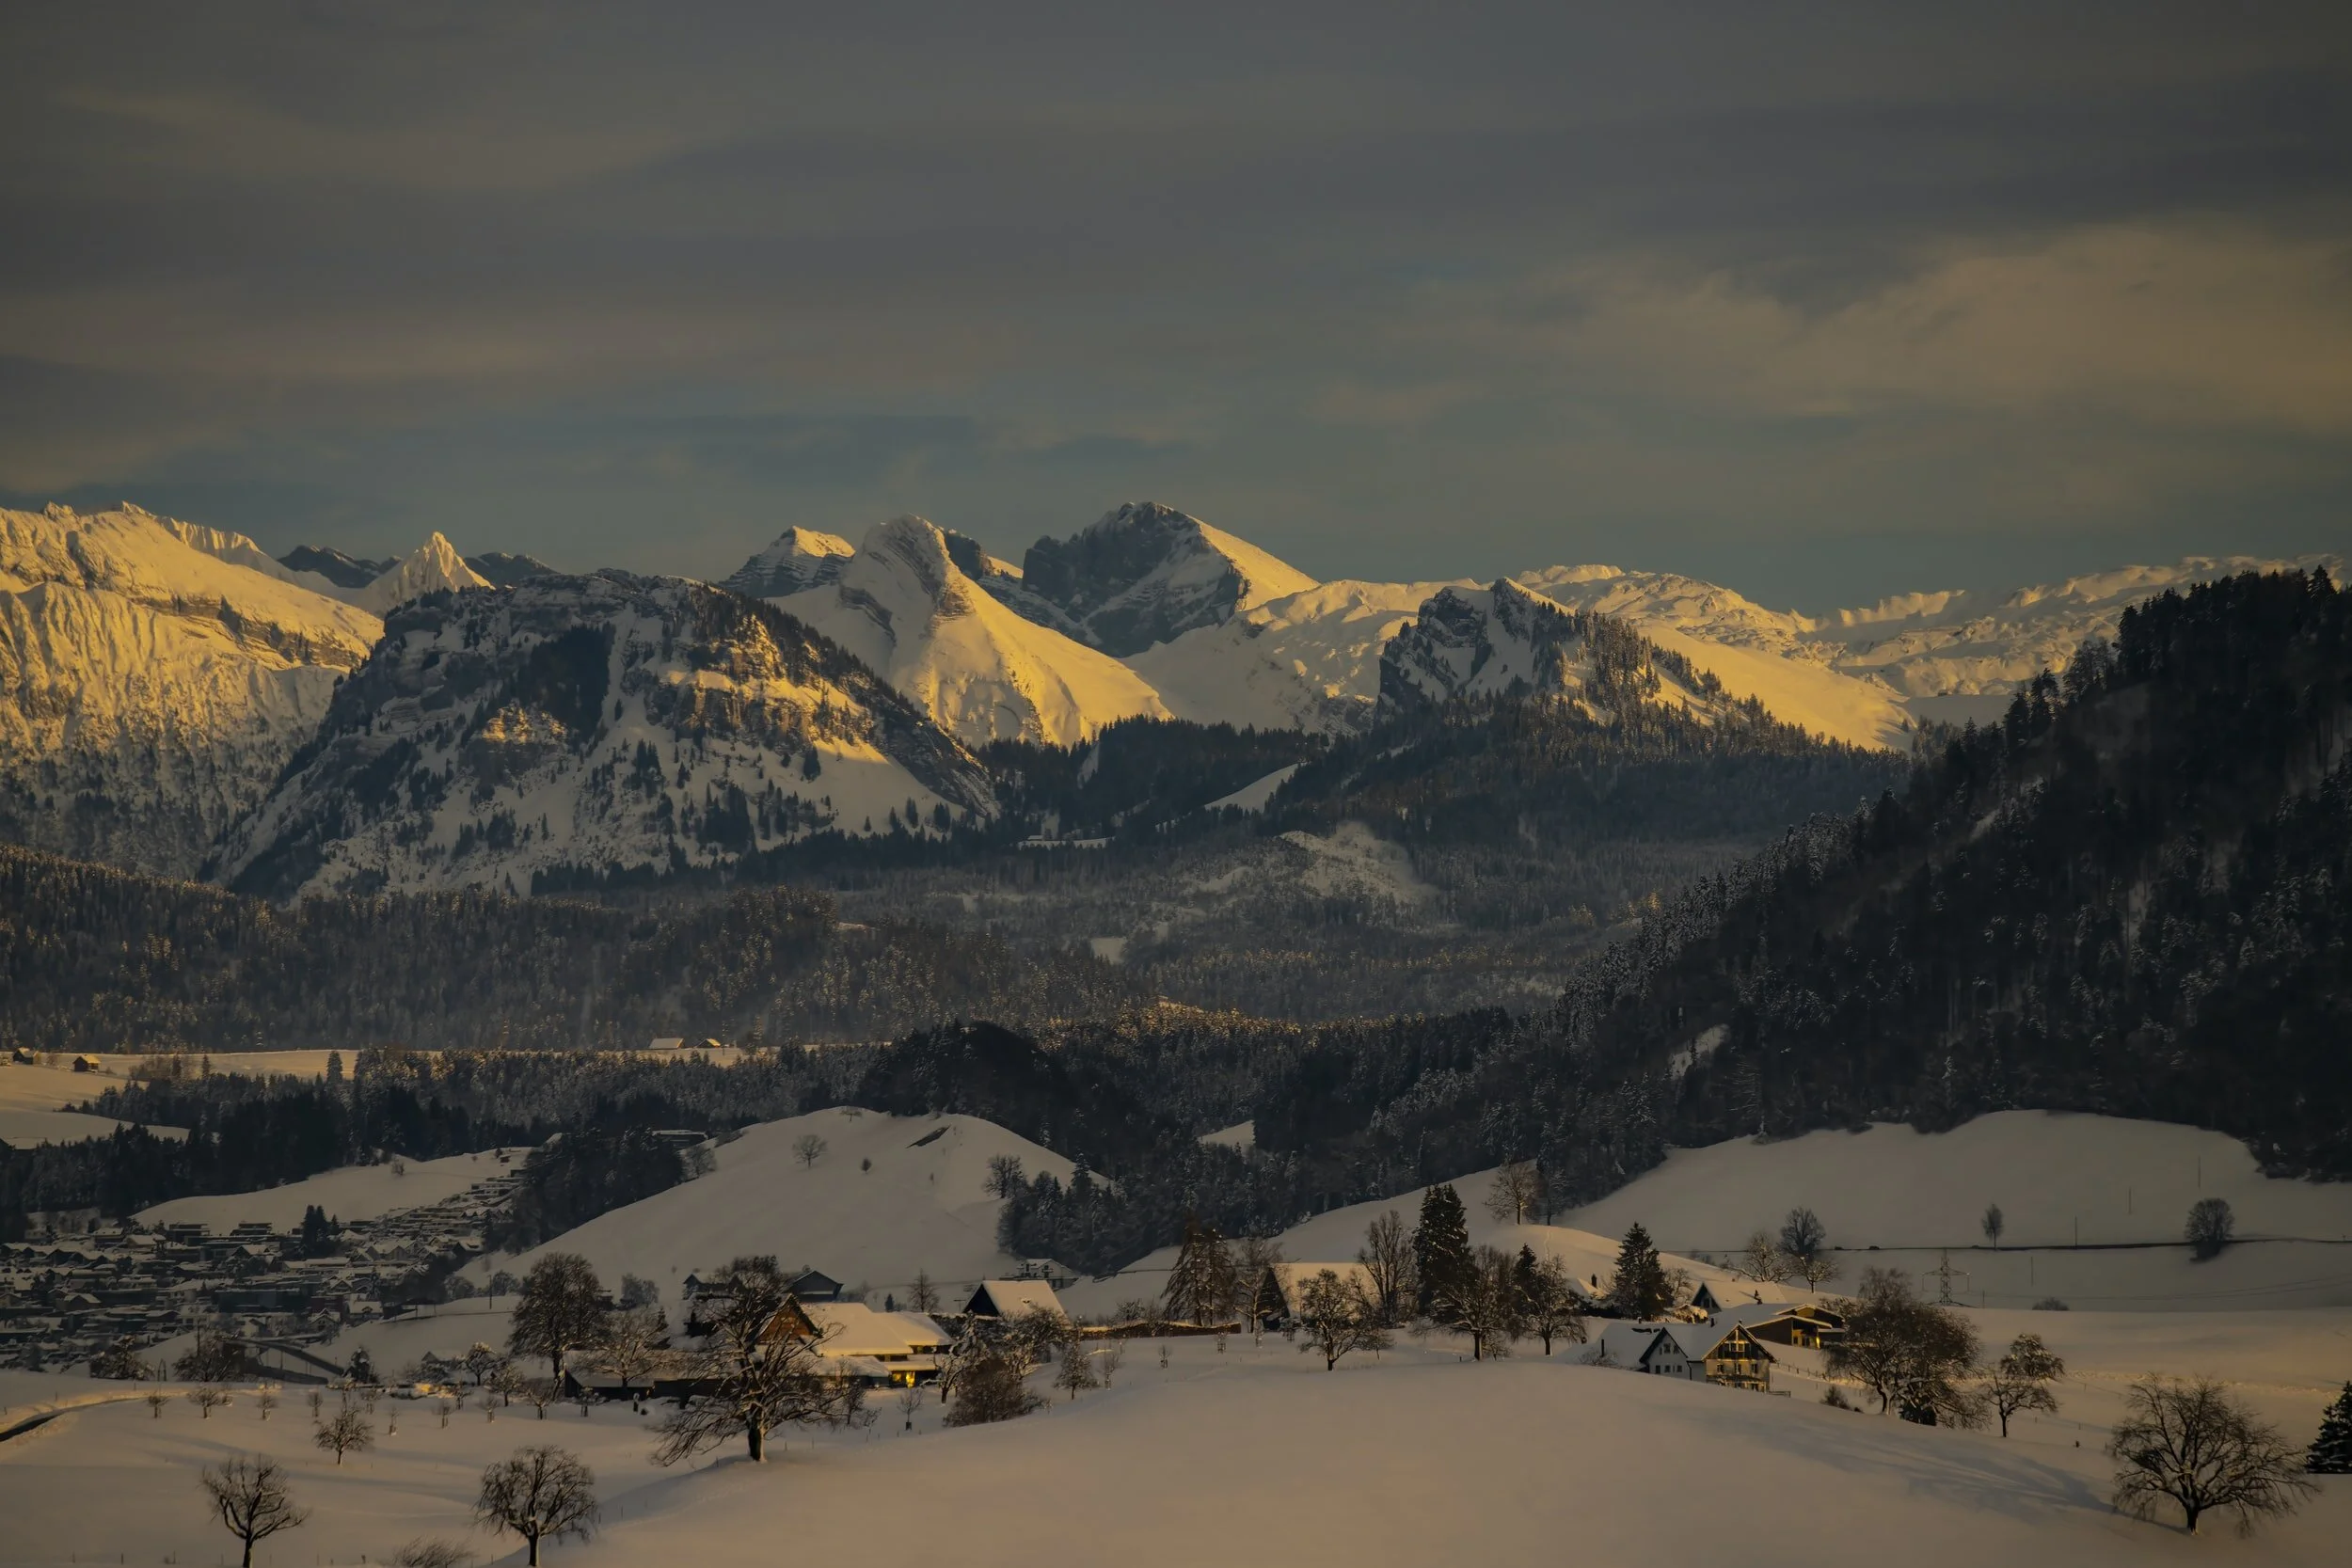
Schedules forced us to make the trip in mid-June, which is definitely on the early end of the summer season in Norway. So while it was less crowded in the fjords at this time, we definitely still encountered some snow higher up on our hikes. On our second hike, we encountered no other hikers for six hours and we were the only people at the public hut that evening. We also encountered a rushing river where the “summer bridge” had not yet been put in place. The bridge sat on the land, as if to taunt us, and it was definitely too heavy to push into place (believe me, we tried). So what did we have to do? Cross a wide, waist-high icy cold rushing river to continue on the trail. It was not for the faint of heart. It was scary, and cold . . . and after crossing it we still had another 1-2 hours to hike until reaching the hut that evening. This would not have happened had we hiked during the true summer season; which is July-August in Norway. Blink, and you’ll miss it!
On the hike from Kinsarvik through the Hardangervidda National Park to Stavali lodge, we encountered an icy cold river and no bridge to cross it.
STEP 2: what to buy, and HOW TO PACK FOR TREKKING IN NORWAY
WATERPROOF GEAR YA’LL.
The weather is unpredictable, even in the summer. It can go from warm and sunny to downright cold and rainy in a matter of hours, particularly as you gain altitude during your hike. Because of this, layers are key.

The hike to Folgefonna Glacier - 1 hour in

The hike to Folgefonna Glacier - 8 hours in
*The above photos were taken on the same hike. Check out how my wardrobe changed from start (on the left) to finish (on the right), nearly eight hours later. Also, the terrain and weather.
We did a lot of research on this part, and I think we faired well when it came to having what we needed. I’m sure I won’t remember everything, so I’ll refer you to this more extensive list, however, here is what I remember being super-duper useful:
A damn good pair of hiking boots (we also brought a pair of Salomon speedcross gortex trail shoes).
A damn good waterproof windbreaker/jacket.
A sturdy backpack (we carried all of our gear on our backs for five days using 40L packs).
A waterproof cover for that backpack (are you seeing a trend)?
A first aid kid (because, duh).
A reusable water bottle.
A thermos to keep your meals hot while you are on the go.
Good, hearty freeze-dried meals (this actually saved us).
Utensils.
A life straw (because when your bottle goes empty . . . ).
Snacks x 1 billion (we can recommend nuts, bread, Norwegian chocolate . . . ).
Electrolytes.
Layers of clothing (tank tops, water resistant pants, long sleeve shirts, shorts, a light down jacket, a waterproof jacket, LOTS o’ socks, you get it . . .)
A hat . . . please don’t forget a hat.
A scarf or buff.
Sunglasses and sunscreen.
A flashlight or two.
A map . . . for sure, a map. And a compass, if you are super on top of it.
Yak Trax just in case (because the trails definitely have snow and ice in June).
A sleeping bag (even though the DNT huts have beds and linens, you are required to sleep in a sleeping bag on top of them).
A lightweight backpacking pillow.
Wet wipes.
Swiss Army knife.
Some emergency rope (we found some that had been left behind in the second hut, and it turned out to be really useful when we had to cross a rushing river a few hours into our hike).
Wondering how we stuffed five days worth of gear in our 40L packs for our hiking trip in Norway? It took some creativity, but here you have it in time-lapse form.
STEP 3: choosing routes
Being the (semi)-responsible adult that I am, I called the Norwegian Trekking Association (DNT) multiple times before we left Poland to plan hiking routes. The trail and weather conditions were changing daily between when we started to plan in February up until the day we left in June. Some hikes were not yet passable due to the winter conditions, even in early June. The experienced DNT folk advised me to wait until arriving in Bergen to speak with local experts to determine safe hiking routes. While it is a bit unsettling to arrive in Norway with five days of gear on your back and not know exactly where you are going, it’s critical to have the most up-to-date trail and weather conditions before venturing out on an overnight hike. So I would advise you to do the same. Have some idea of routes you’d like to take and what you’d like to see, but let the experts dictate what makes sense when you hit the ground.
Lucky for us, the Bergen and Hordaland Trekking Association had an office/store right next to our guest house in Bergen, so we were able to hit them up straight after checking in.
We bought a (pricey; because this is Norway) map from them, and had extensive discussions with their staff about what we were hoping to do and where to hike. They advised us of two full-day hikes, one considered a “black” or expert-level hike, the other a “red” (one step below black). I urge you only to do a black level hike if you are a) very physically fit and b) brave. We knew we wanted to a challenge, but we weren’t sure exactly what we had gotten ourselves into when choosing such difficult hikes. Regardless, the guide saw that we were (mostly) prepared, and we followed his suggestions. I’m pretty sure we didn’t realize we had done a black until we were back in Poland. Oops!
Hike 1: Sunndal to Fonnabu Hut (at Folgefonna Glacier) in Folgefonna National Park (9 hours)
And let me tell ya’ll, Norwegian hikers? They are damn fit and fast. So, when your Norwegian-purchased map tells you that a hike will take you 6 hours, bank on 7-8. I’m dead serious. Especially when you are carrying 20+ lbs. on your back.
The hikes were so different; but both amazing. I truly believe we saw some of the most stunning, scenery in all of Norway, and yet, I know that there must be so much more out there. Norway is truly a land blessed with so much beauty.
I want to give you all specifics on our lodging in Bergen, the public DNT huts, and how we got around (hint: ferry, bus, and train)! Be on the look-out for a Hiking in Norway (Part 2) post soon!
In the meantime, I found this post by Heart My Backpack extremely helpful when planning my own trip. Silvia is spot on when it comes to everything Norway!